
Hey earth muffins! If you read the first post in my Birth Control series (which you definitely should read here if you haven’t), you will know that I recently started the Basal Body Temperature method to track my ovulation cycle. For this second post, I wanted to share my experiences with setting up and using the Femometer in case you are looking to start tracking your own temperatures using a similar device. 🙂 Let’s jump right into it!
So, after unboxing my Femometer, I went on the app store and downloaded the app.
 |
| I love how sleek the logo is (plus people won’t know what it is if they see my phone)! |
To set up your Femometer, you have to go through some very easy steps:
1. Open the app. It will prompt you to make an account. As well as making a username and password, the app will ask you questions about your typical period (such as average period length, etc.).
2. Now you get to pair your actual Femometer device to the app:
- Make sure the Bluetooth on your phone is on!
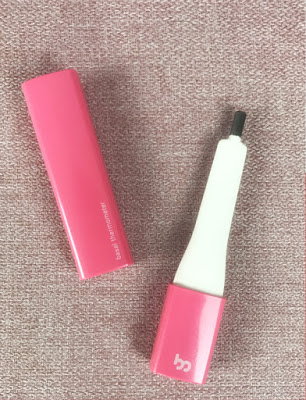
- Open the thermometer (make sure it beeps once)
- On the home screen of the app, click the little thermometer icon on the top left and follow the instructions.

- It takes about 5 seconds for it to pair and then you are all set (it will remember the device if you turn off the Bluetooth on your phone too, which I love!)
What I Think So Far:
-It is SO easy to use! The beep system is super helpful and doesn’t require me to actually look/remember a number each morning.
-I found it very easy to integrate into my morning routine. After a couple days, it just becomes a habit. When reaching to turn off my alarm, I just grab my Femometer!
-It isn’t a huge time commitment, which I love.
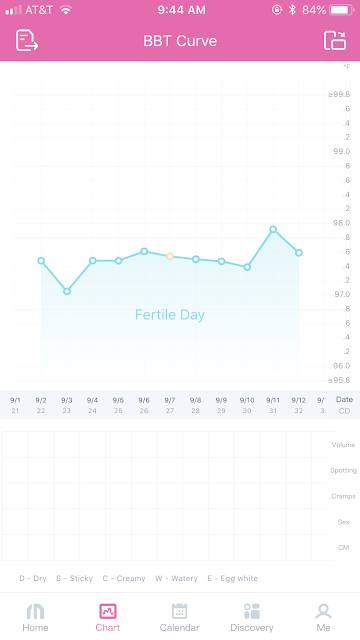
-I can already see the results! You can add all of your past period data into the calendar and there is a chart that updates each day so that you can visually see your temperature changes. I am super excited to continue to use this, so look forward to another Birth Control post at the month mark!
What do you think about temperature tracking?
Love,
Jenna ♥


